How to use a PuttBANDIT
- PuttBANDIT Team
- Mar 7, 2024
- 2 min read
Updated: Mar 12, 2024
Follow these basic instructions to use a PuttBANDIT alignment golf ball marker. After a while you will develop your own routine that uses your available time effectively and efficiently for green reading, targeting, aligning and making your putt, conscious of the pace of play.

1. Start reading the green as you approach it from the fairway. Judge the slopes and make your initial putting line assessment.

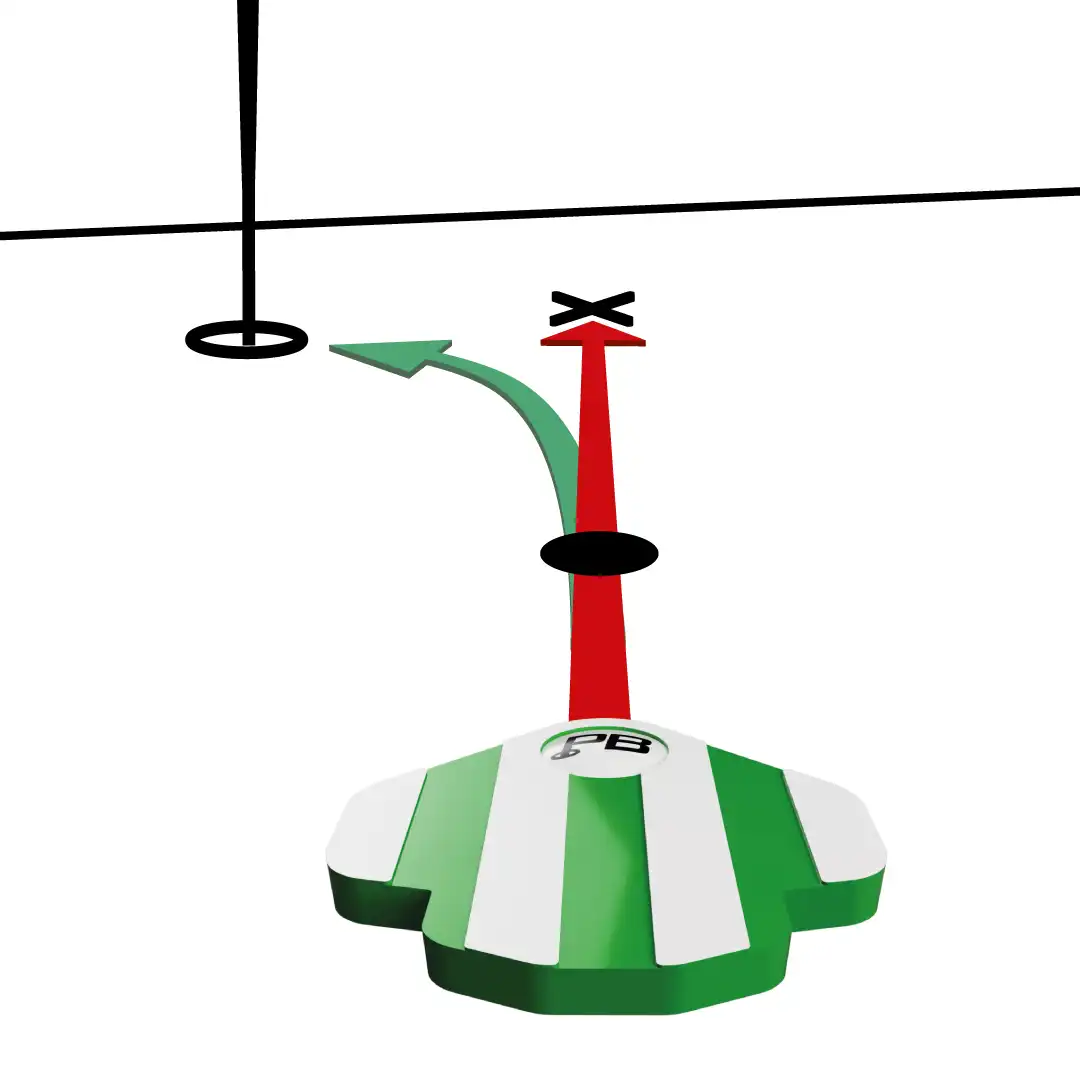
2. Mark your ball position with the PuttBANDIT marker head behind the ball and the marker pointing to the hole. Push the anchor pin into the turf*. You can now lift and clean your ball.

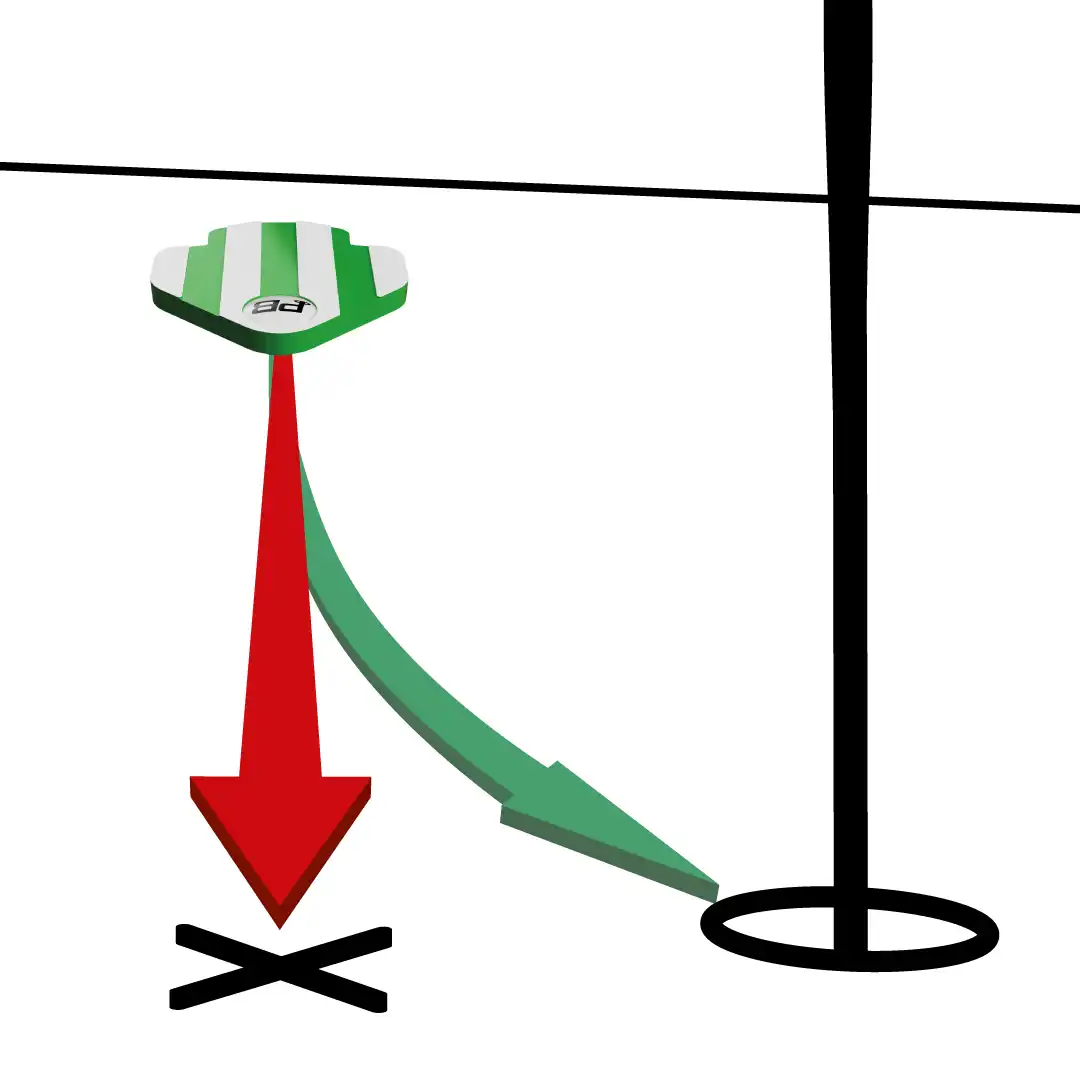
3. Target the PuttBANDIT’s stripes down your chosen putt start line or to your aim point or spot by rotating your PuttBANDIT around the anchor pin. You can use your fingers or the head of your putter while standing up for a higher perspective.
4. You can check your line by looking towards your aim point or spot from behind the PuttBANDIT or, if you have the time, by looking back to the PuttBANDIT from behind the aim point or hole. You can then make adjustments to your line.

5. Before it's your turn to putt, replace your ball on its spot on a direct line between the marker head and the hole and set the line on your ball parallel to the PuttBANDIT stripes.

6. Carefully remove the PuttBANDIT without touching or moving your ball, align your putter face, trust your chosen line, focus on your speed and then putt down the ball line to your aim point or spot. Always replace your ball before removing the PuttBANDIT and making your stroke.
*The PUTTBANDIT ball marker has an anchor pin, like a golf tee peg, that pushes into the turf for stability and to allow the marker to rotate. To avoid potential injury, do not sit on the anchor pin and do not push the pin into the skin, eyes or clothing, or put inside the mouth, and keep away from young children.
PuttBANDIT Ltd is not affiliated, endorsed by or connected to other brands or websites that we may mention or link to in our communications.


Comments